Software
Install CNC software (grbl) on Arduino Uno
The software used in this project to control the CNC machine is called grbl. It's an open source and high performance g-code-parser and CNC milling controller that can run on a straight Arduino Uno. To be able to install the software on the Arduino, an external computer was needed.
Install Arduino Software (IDE)
To be able to install grbl on the Arduino, Arduino Software (IDE) was installed on the computer. This program is used to upload code to the Arduino. The program was downloaded from Arduino's official website and the instructions were followed:
https://www.arduino.cc/en/software
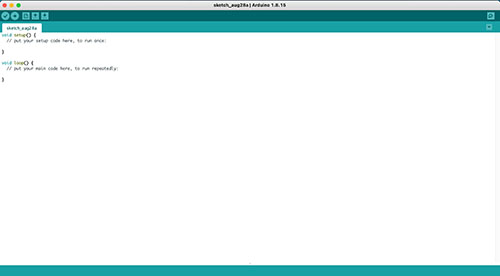
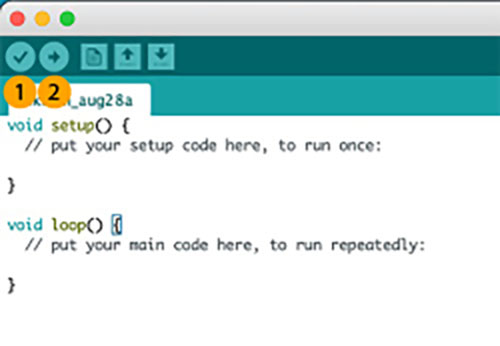
After starting the program, you should see something like this:
Install GRBL
After installing the Arduino Software, the latest stable version of grbl was downloaded (as zip-format) from their official GitHub release page:
https://github.com/gnea/grbl/releases
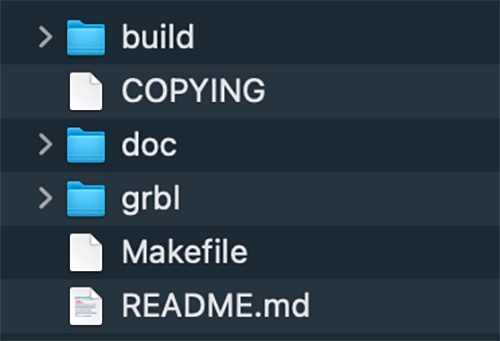
After unzipping the file, you should see something similar to this in the folder:
Before grbl was loaded into the Arduino Software (IDE), a minor adjustment had to be done to grbl's config file, config.h. The reason for this was because when gbrl released v1.1, it changed the pin used by the Z end-stops. If this wasn't done, the Z end-stops wouldn't be recognized by grbl. To tell grbl that the old way of accessing the Z end-stops should be used, a specific variable in the config.h was commented out.
The config grbl/config.h was opened in a text editor and the line were the variable VARIABLE_SPINDLE is set was commented out by adding two slashes (//) at the beginning of the line (see the last line):
// Enables variable spindle output voltage for different RPM values. On the Arduino Uno, the spindle
// enable pin will output 5V for maximum RPM with 256 intermediate levels and 0V when disabled.
// NOTE: IMPORTANT for Arduino Unos! When enabled, the Z-limit pin D11 and spindle enable pin D12 switch!
// The hardware PWM output on pin D11 is required for variable spindle output voltages.
// #define VARIABLE_SPINDLE // <-- THIS SHOULD BE COMMENTED OUT!!
The updated config.h was saved.
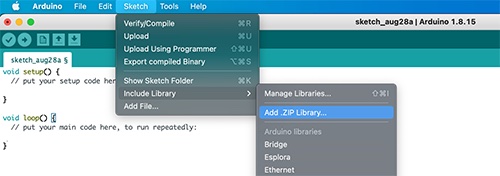
The Arduino Software (IDE) was then launched and the Sketch > Include Library > Add .ZIP Library... menu alternative was clicked:
You should see a pop-up similar to this:
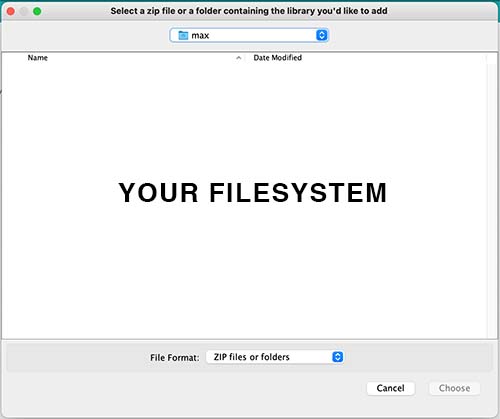
The unzipped grbl directory was opened and the folder grbl was chosen. After choosing the folder, a text below the editor appeared stating Library added to your libraries. Check "Include library" menu.
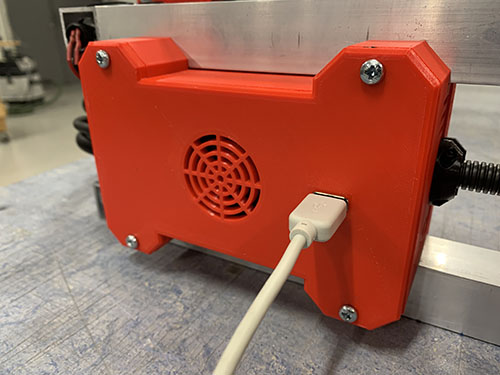
A USB cable was connected to the USB connection on the small electronic box.
Next, connect the Arduino to your computer.
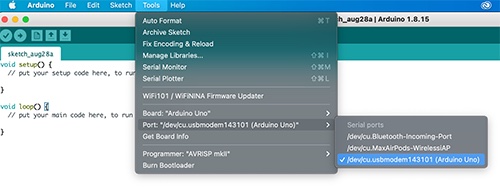
To let the IDE know where to upload the software, the correct serial port and board were chosen. The serial port was set under Tools > Port > SOMETHINGSOMETHING (Arduino Uno).
If you have trouble finding the correct port, you might need to install
CH340 drivers. It might occurr if you're using an Arduino clone. Look at
this resource for more info:
https://learn.sparkfun.com/tutorials/how-to-install-ch340-drivers/all
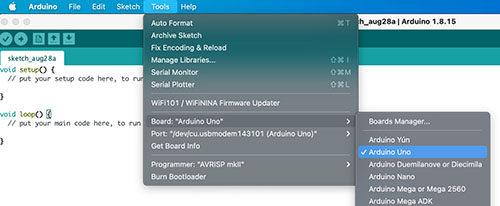
The board was set under Tools > Board > Arduino Uno.
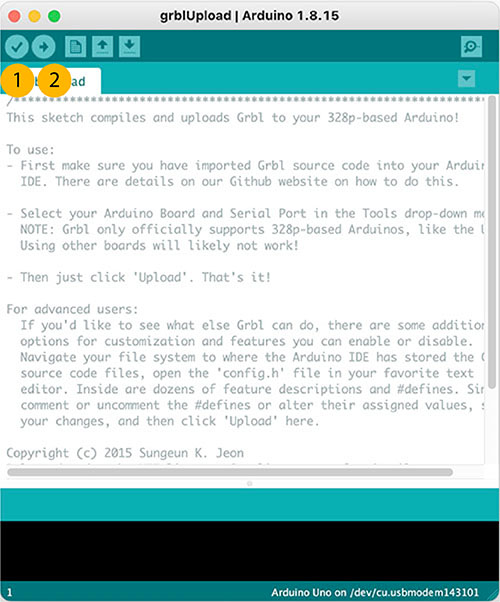
To test if the correct board and serial port were chosen, the template code (default code available when launching the IDE) was compiled by clicking on the check mark in the top left corner. When the compiling was done, the right-pointing arrow was clicked to upload the code to the Arduino. If successfull, you should see a text saying Done uploading below the editor.

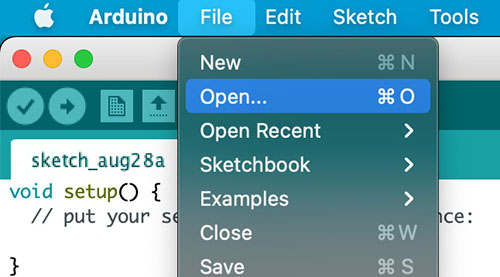
The IDE was now ready to upload grbl to the Arduino. This was done by clicking File > Open in the top menu:
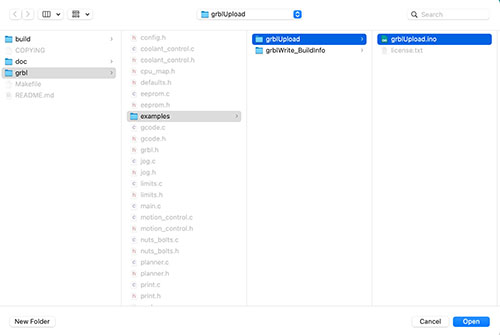
In the pop-up window, the downloaded folder was found and the following file grbl/examples/grblUpload/grblUpload.ino was opened.
A new pop-up was opened and the grbl code was compile by clicking on the check mark. When done, the compiled code was uploaded to the Arduino by clicking on the right-pointing arrow. grbl was now installed on the Arduino!